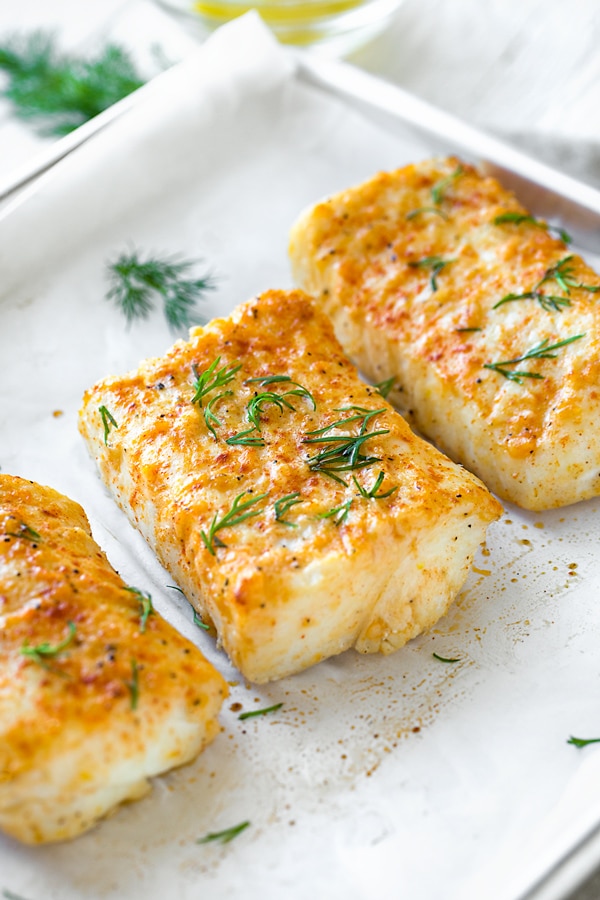
I usually have a hard time cooking Halibut but this recipe was super easy and the flavor and look of it were great!
Camila found this recipe for Baked Halibut on The Cozy Apron, and it was a big hit with her family!
We don’t want to try and reinvent the wheel here, so we are just re-posting the article she found. The only thing different from their recipe is all the ingredients were put into a mortar and pestle to smash together, and a small whisk was used to mix the oil with the other ingredients. Also, one large piece of fish was used instead of the small fillets. We hope this is a big hit for you as well.
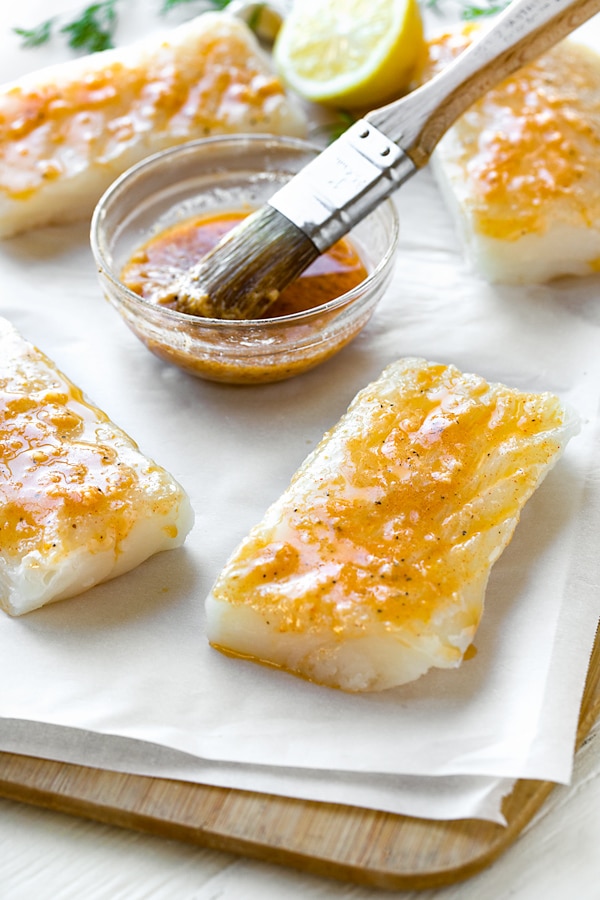
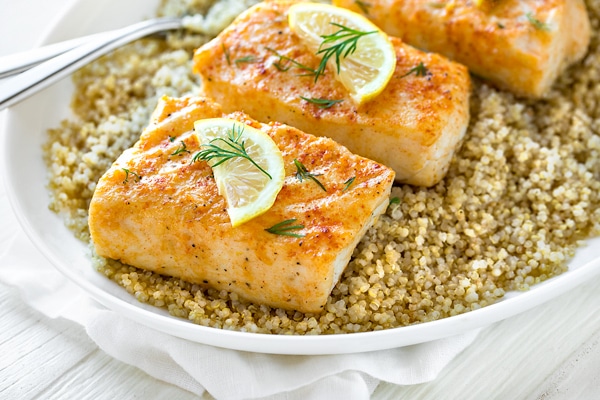
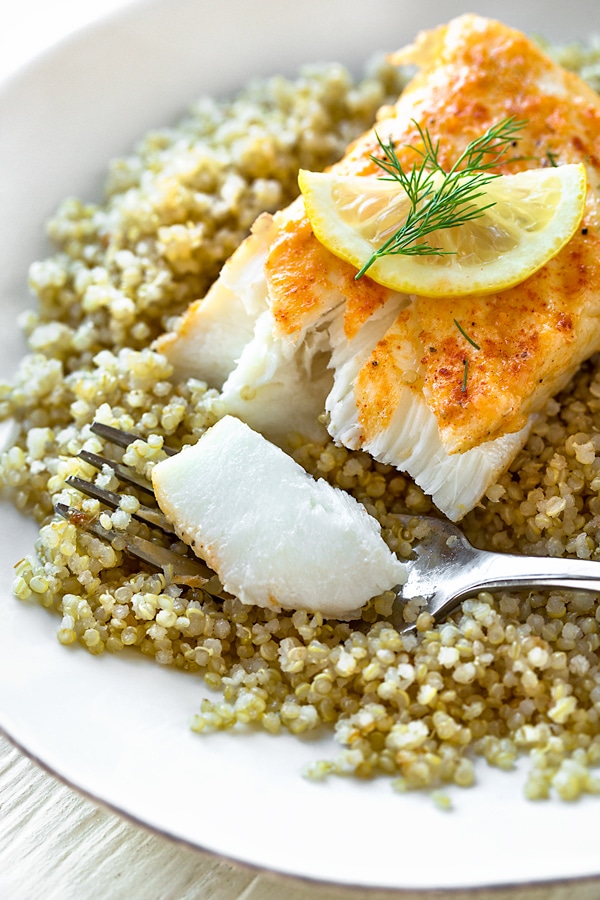
Succulent baked halibut with a touch of lemon, Dijon mustard, and dill is an ideal meal when something light and healthy is what you’re hungry for, and it’s ready to serve in around twenty minutes!
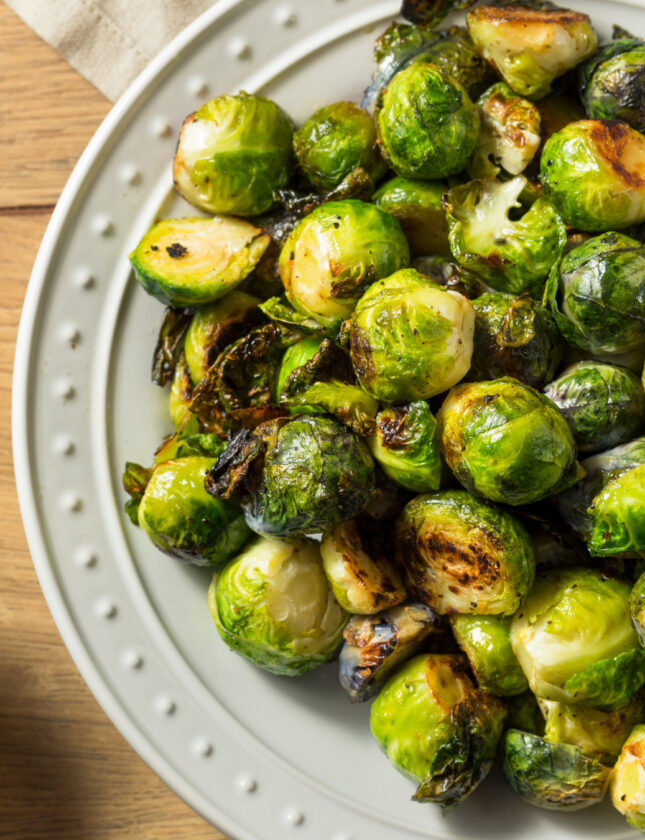
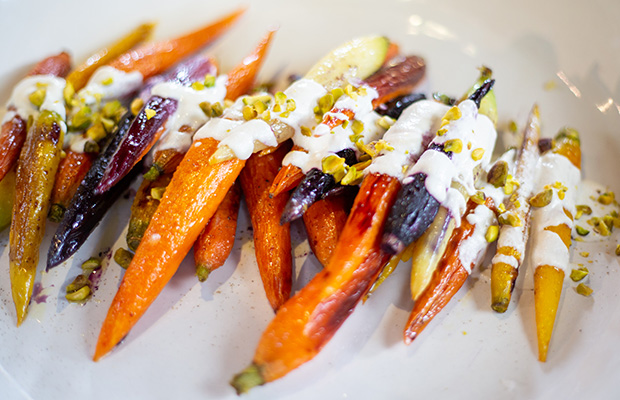
Baking halibut in this way yields a moist, flavorful piece of fish, one perfect to serve with a light accompaniment of simple quinoa, or some roasted potatoes, sauteed asparagus, roasted vegetables, or even a green salad.
And if being easy to prepare and tasting so good wasn’t enough, it’s nice to know too that baked halibut is an excellent source of protein and omega-3 fatty acids.
The key to cooking flavorful halibut is to be liberal with the seasonings and choose complimentary flavor profiles. The delicious seasonings will then penetrate the halibut and create a moist and delicious result.
Depending on the thickness of your fillet, you can allow the halibut to sit in the seasoning to marinate for a few minutes (15-20 works great), or just skip the marinade step and go straight to the baking.
Tips & Tidbits for Baked Halibut:
- Choose, firm, fresh fillets: When you choose your halibut fillets, opt for firmer fillets that have a fresh, ocean-like scent. Also, run your fingers over the fillets to check for any tiny little bones, and remove those before seasoning and baking.
- Marinate for extra flavor: While you truly don’t need to set aside a lot of extra time for marination, even 10-20 minutes will allow the flavors of the seasoning to penetrate and create a more succulent result.
- Herbs of your choice: One of my favorite flavor combinations when it comes to fish is dill and lemon; so I like to finish things with a flourish of fresh chopped dill along with lemon slices. You can also use green onion, parsley, chives, rosemary or thyme, a small amount of oregano, or even basil.
- How long to bake: Roughly, 10 minutes at 450° is a pretty good ballpark for a 6-ounce fillet. You want to look for the fillets to be opaque in the center and still moist, with a tender “flake” to them, very slightly firm in the center when pressed. Then a quick finish under the broiler for 2-3 minutes adds a little extra golden color.
Baked Halibut
Ingredients
- 2 large garlic cloves, pressed through garlic press
- 1 tsp. Dijon mustard
- 1 tsp. lemon juice
- 1/2 tsp. lemon zest
- 1 pinch paprika (about 1/8 – 1/4 teaspoon)
- salt
- black pepper
- 2 tbsp. olive oil
- 4 6 oz. skinless halibut fillet
- fresh dill chopped for garnish
- lemon slices or wedges, on the side
Instructions
- Preheat your oven to 450°, and line a baking sheet with parchment paper or foil.
- In a small ramekin prepare the marinade/seasoning by combining the pressed garlic cloves, Dijon, lemon juice, and zest, paprika, and a couple of good pinches of salt and pepper. Mix with a fork; add in the olive oil, 1 tablespoon at a time, and blend that in until combined.
- Place the halibut fillets onto the prepared baking sheet, and brush each fillet with the seasoning mixture (or pour it directly over), and if you have a few minutes, allow the fillets to marinate for 10-20 minutes.
- Place the seasoned fillets into the oven and bake for 10 minutes. Next, turn the broiler on and allow the fish to broil for 2-3 minutes until it has a bit of color, and is tender, flaky, and cooked through.
- To finish, sprinkle over some fresh dill, add lemon slices or wedges, and serve with your choice of side.
Enjoy!
Making this recipe? Be sure and share it with us on the WOT Instagram or Facebook!
Recipe and all images via The Cozy Apron.
