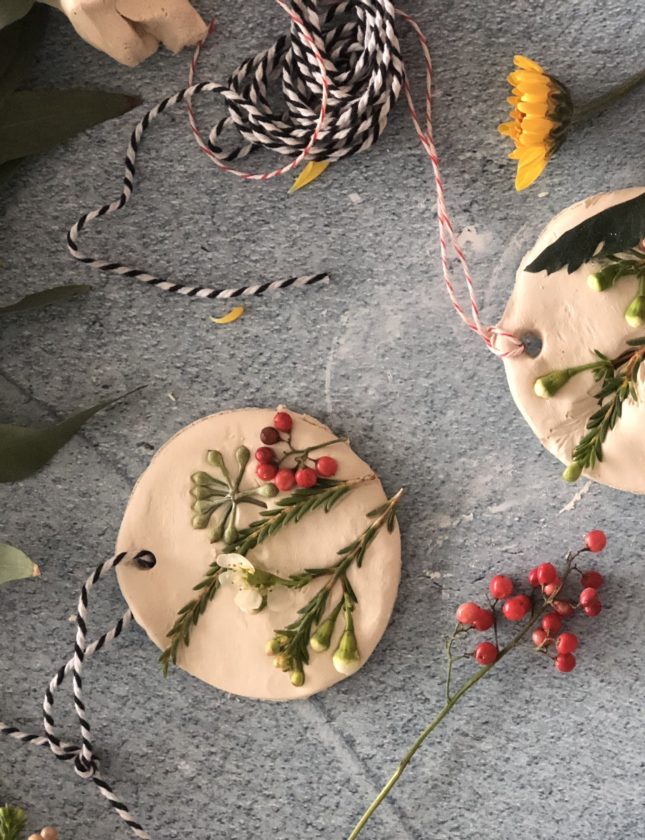
If you’re in a pinch to add some unique holiday decorations to your tree, then you’re in luck! Our DIY Floral-Pressed Ornaments are truly so special … Not to mention, they make for a great activity with the kiddos! Added Bonus: It’ll help pass the time while your delicious Women of Today recipes are baking in the oven! They also make for beautiful last-minute gifts, or use them in lieu of place cards on your holiday table!
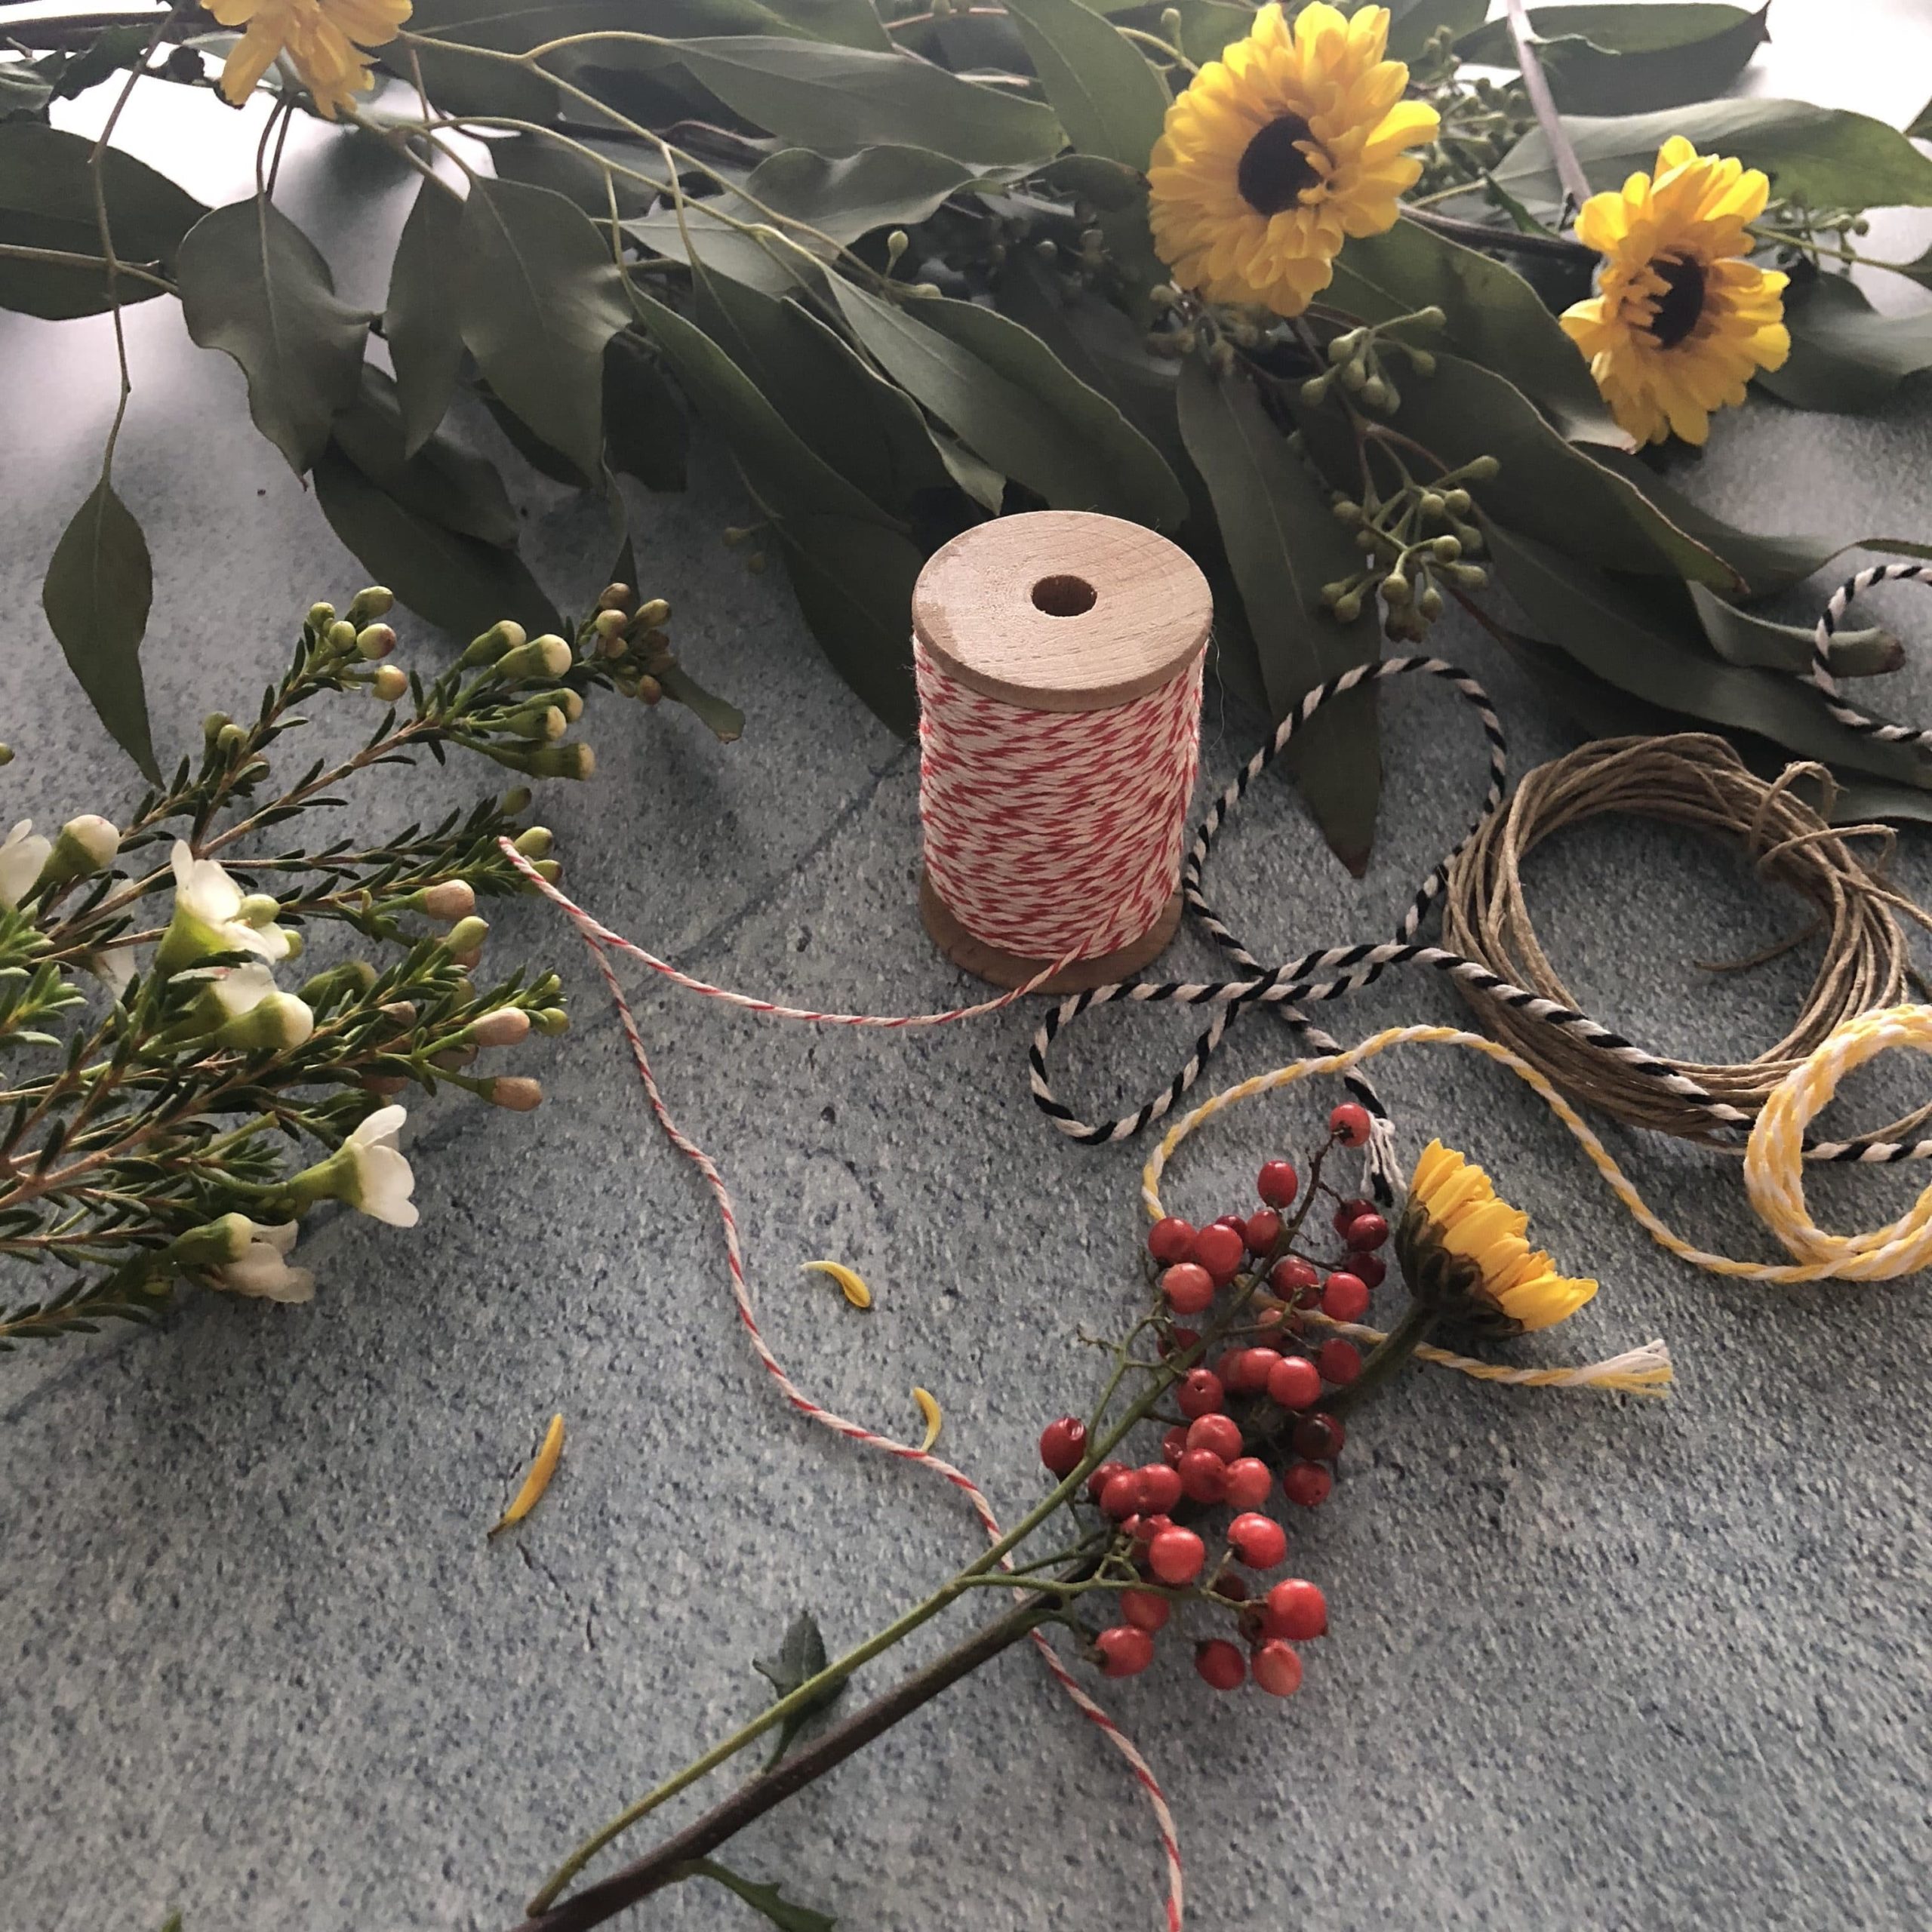
No time to head to the floral shop for flowers? No problem! Have fun collecting all kinds leaves and greens outside your own front door. Enjoy!
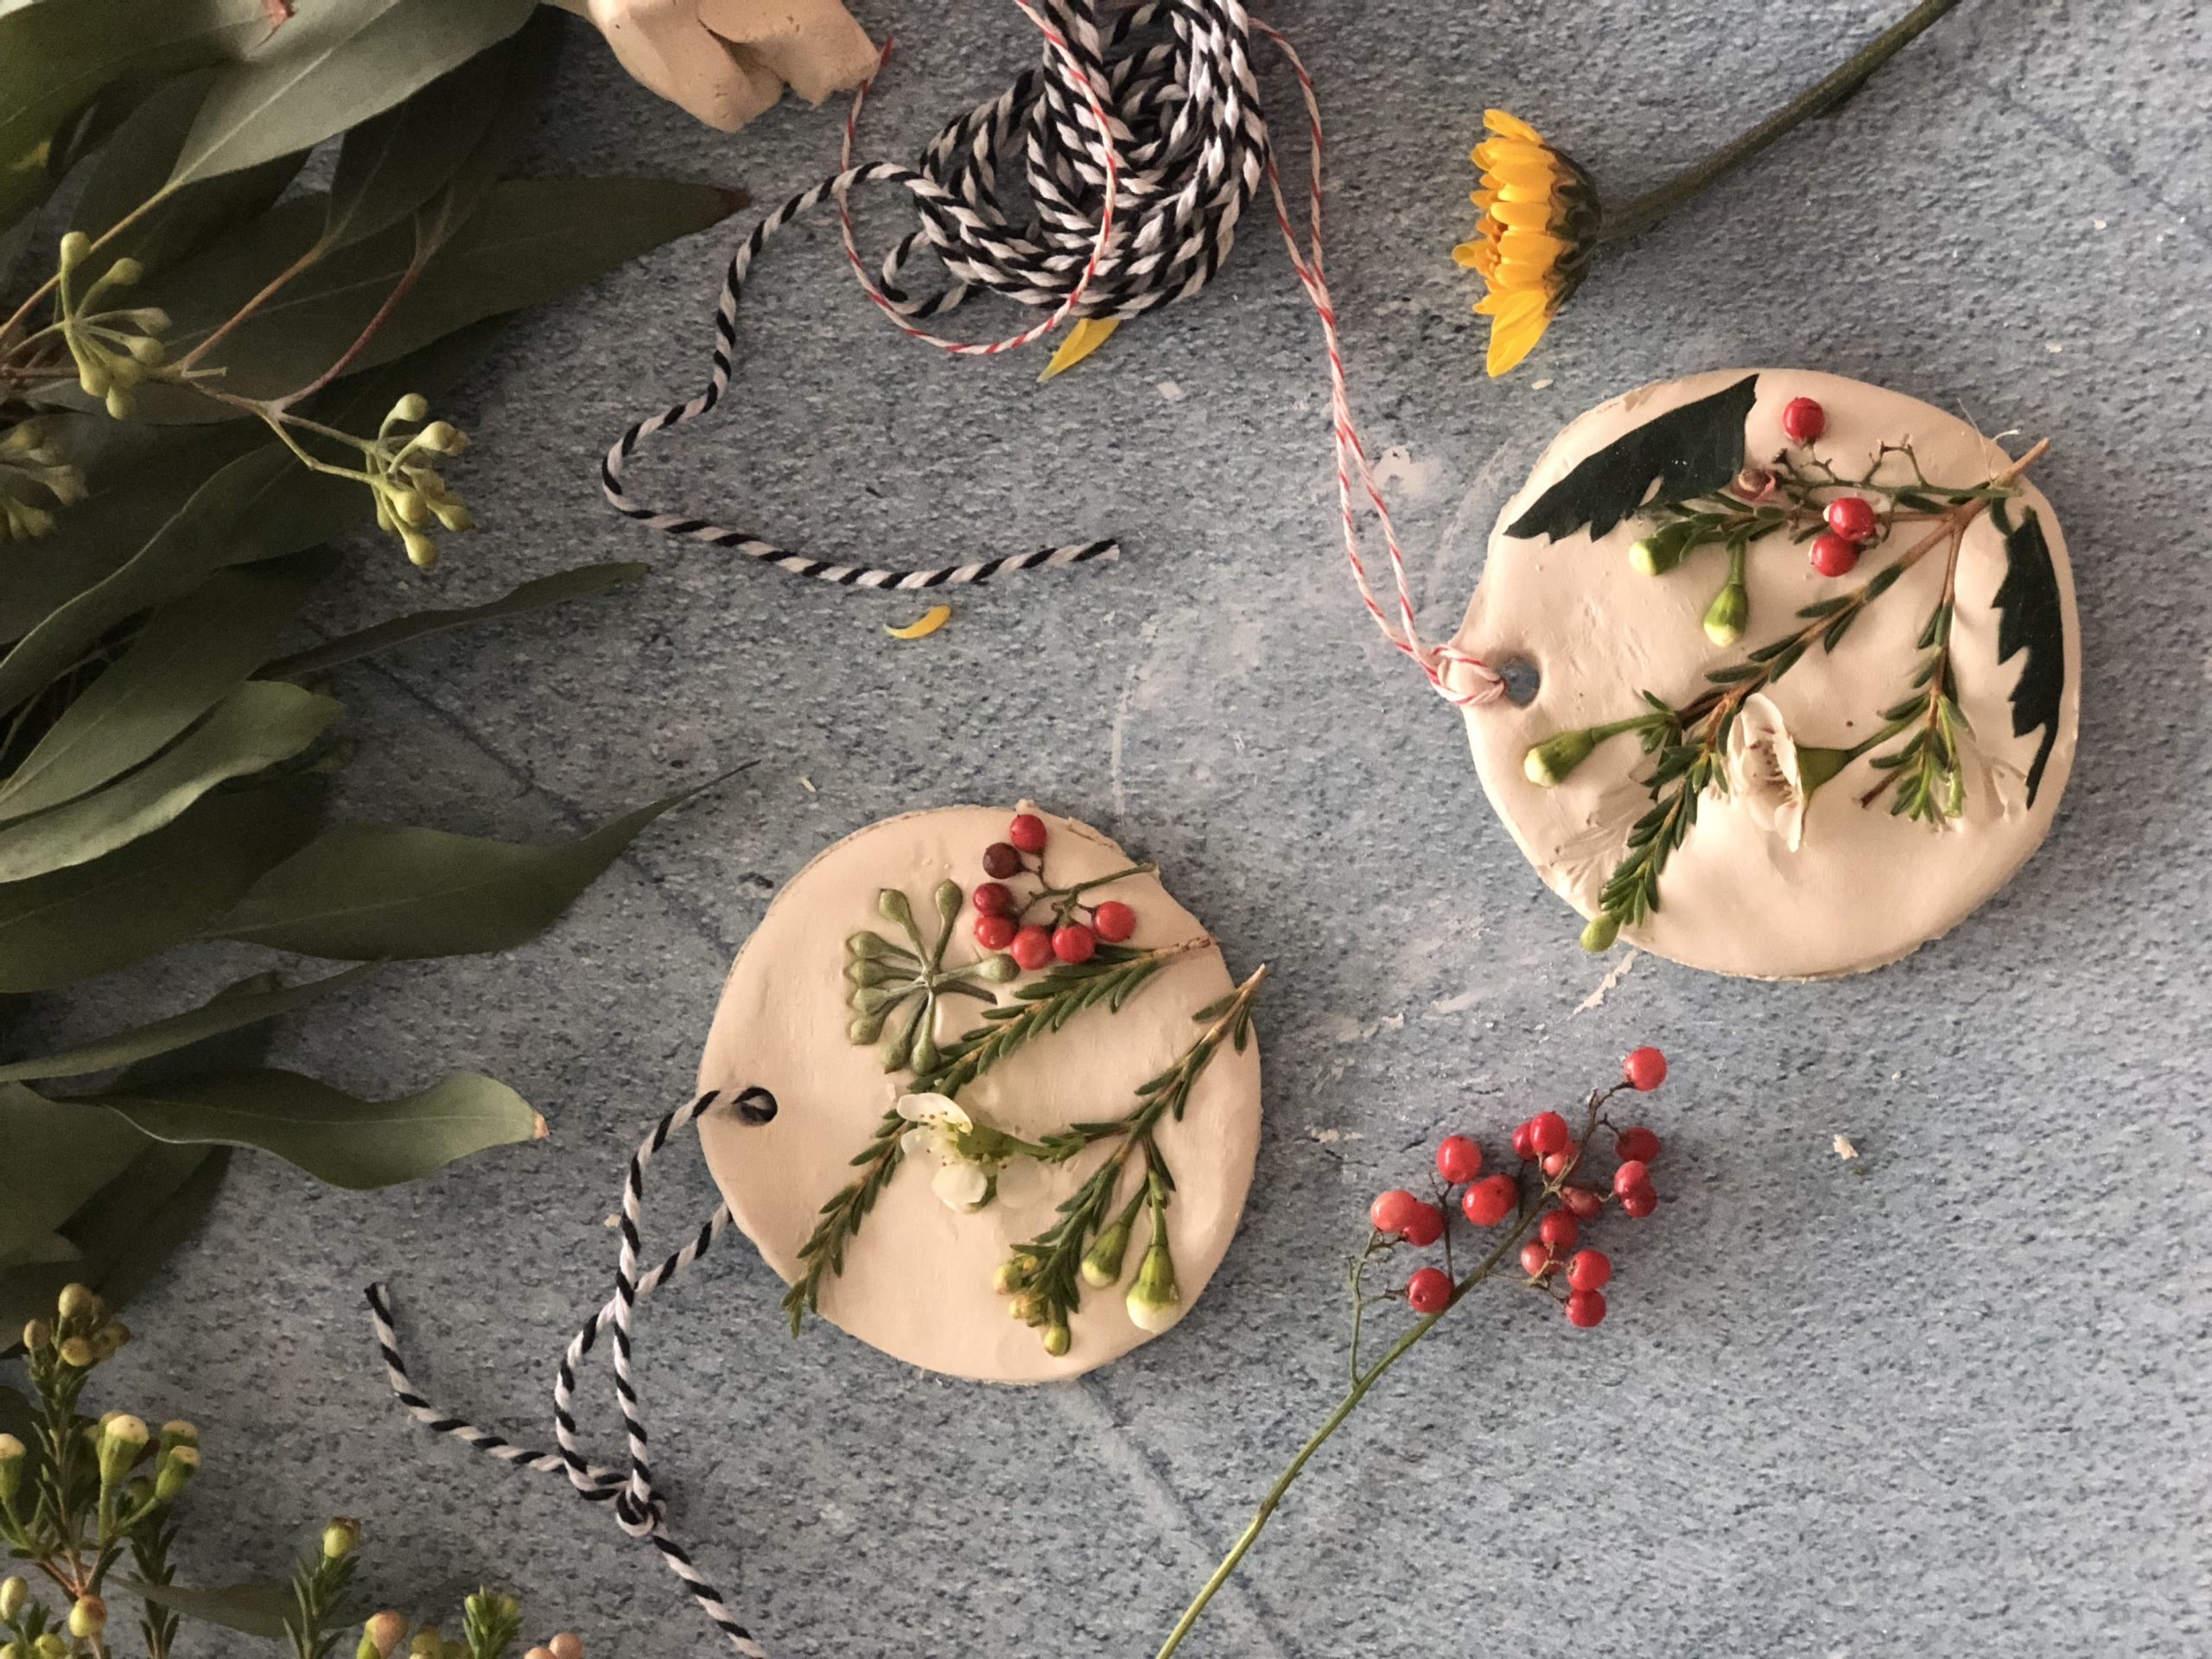
DIY Floral-Pressed Ornaments
Ingredients
- Non toxic air-dry clay (we found ours on Amazon!)
- rolling pin (or a can on its side!)
- straw
- assorted flowers and leaves
- bakers twine or string
- cookie cutter (or use a jar lid like we did!)
- Mod Podge (optional)
Instructions
- Roll out a small golf ball sized chunk of clay with a rolling pin to about ¼" thick.
- Use cookie cutter or jar lid to cut out a round disk, or design of choice.
- Press flowers and leaves into clay in any design.
- Use straw to poke a hole out of the top of your disk.
- Tie a string inside of the hole so that your ornament can hang.
- Let dry for about 24 hours fully.
- If you want to give your ornament a glossy finish, you can coat the top of the ornament with Mod Podge to keep the florals long lasting in place and a nice shine!
- Hang and enjoy!
Beijos xx
Women of Today





![Founder creating skincare[1]](https://womenoftoday.com/app/uploads/2020/08/founder-creating-skincare1-scaled.jpg)

