


Making sourdough bread is not uncomplicated (to say the least), just follow our guide!
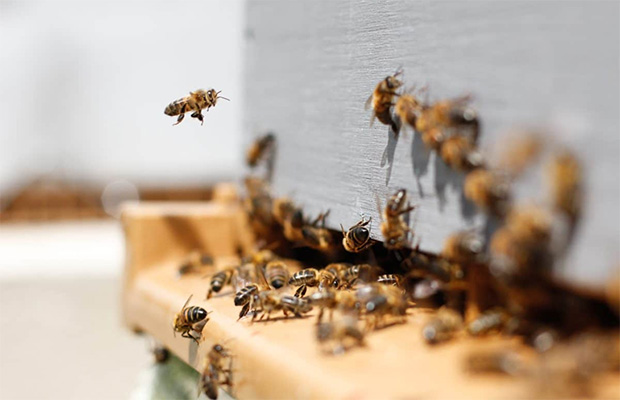
A while back, our friends at Easy Tiger showed the Women of Today community how to make sourdough during our Instagram LIVE. It was great fun, and we all learned a lot. Since then many of you have been baking your way to semi-professional status using the recipe and still using the starter from Easy Tiger. To all of you who still have the same starter, congratulations! Many of you have shared your starter with family and friends and some of the starters even made it to other states!

We thought it might be a good time for a “Sourdough Refresher Course”. Here at the WOT test kitchen, we have updated the recipe and included step-by-step instructions with photos and a timeline to help keep your sourdough timing on schedule. Let us know what you think or email us if you have any questions!
Sourdough Recipe and Step-by-Step Directions
*Please Note: This is a THREE-DAY process
The below timeline is for baking on Saturday morning; therefore, the process begins on Thursday. For purposes of these directions, we outlined the times and we added blanks so you can adjust to your schedule!
Supplies:
• Mixing Bowls
• Dry and Wet measuring cups
• Spatula
• Whisk
• Plastic Wrap
• Parchment Paper
• 3qt Dutch Oven
• Kitchen Scissors
Ingredients:
• 100 grams (1/4 cup) stiff starter like the one from Easy Tiger or your favorite bakery
• Flour – all-purpose works great
• Kosher Salt
Thursday or ____________ (your preferred day)
12:00 PM or____________(your preferred time)
Step 1: Remove the Starter (1/4 cup) from the refrigerator and let it sit at room temperature for 4 hours
4:00 PM or ____________(your preferred time)
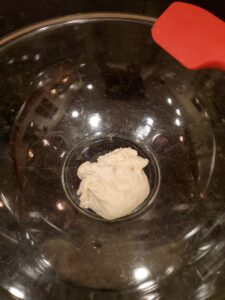
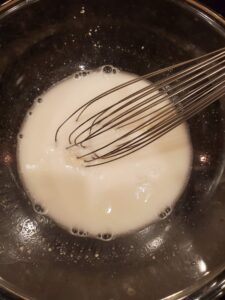
Step 2: MAINTENANCE FEED or FIRST FEED (room temperature) 1/4 cup starter with:
• 7/8 cup flour
• 1/4 cup warm water
• Stir to combine and cover with plastic wrap.
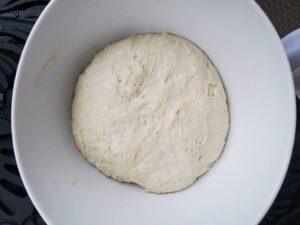
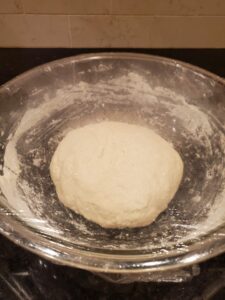
• Let the mixture sit on the counter for 3-4 hours and then place in the refrigerator until the next day.
• The consistency of the mixture after the 4 hours of resting will look like the below:
Note: If you are not going to continue to bake in two days, the starter can stay in the fridge for up to 7 days, but before you pick back up to bake, you will need to repeat the MAINTENANCE FEED and will only use 1/4 cup of starter or 100 grams, the rest is discarded.
Friday
4:00 PM or ____________(your preferred time)
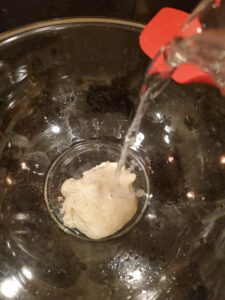
Step 3: BULK FEED – Feed the starter again (bring to room temperature before this step), this time using a larger volume of flour and water and storing it in a larger container.
Add:
• 1 3/4 cup of flour
• 1/2 cup warm water.
• Mix and cover with plastic wrap.
Allow the starter to sit at room temperature for 3 hours. The longer it sits, the more “sour” it becomes.
7:00 PM or ____________ (your preferred time)
Step 4: FOR ONE LOAF OF BREAD
• Remove 1/2 cup of the starter mixture and add it to a mixing bowl. Put the balance of the starter into a jar and store it in the fridge for up to 7 days, but before you pick back up to bake again, you will need to repeat the MAINTENANCE FEED and will only use 1/4 cup of starter or 100 grams; the rest is discarded.
Step 5: IN A LARGE BOWL, ADD THE FOLLOWING
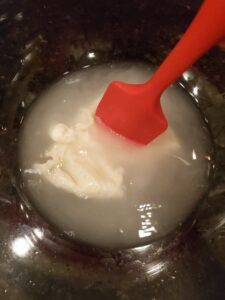
• 1/2 cup starter (from above step)
• 1 1/2 cup warm water
• Using a spatula or large spoon, break the starter apart into smaller pieces and incorporate well. You can also use a whisk once the large pieces are broken up. It will not all dissolve.
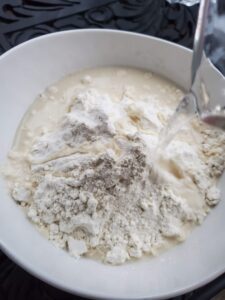
Step 6: ONCE THE DOUGH AND WATER ARE MIXED WELL, ADD TO THE BOWL:
• 3 ¾ cups flour
• 1 ¾ teaspoons of kosher salt.
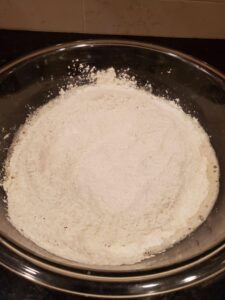
Gently and in a circular motion, combine the flour, salt, and sourdough water mixture until a sticky dough forms, you can use your hands to lightly knead to get the dough into a sticky ball.

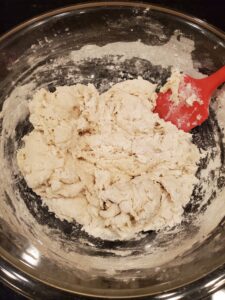
Cover with plastic wrap and let rest for one hour.
8:00 PM or ____________ (your preferred time)
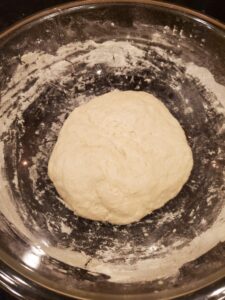
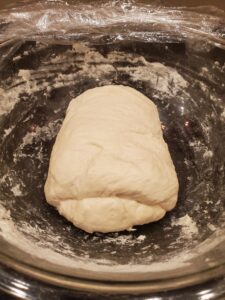
Step 7: AFTER ONE HOUR
In the bowl, fold the dough with four pulls. Each pull pulls the dough onto itself. Cover the dough with plastic wrap and place it in a warm place for 10 hours it will rise.
Saturday
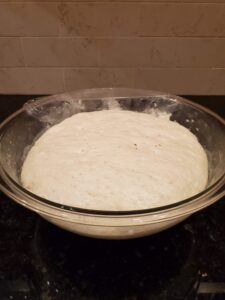
6:00 AM or ____________ (your preferred time)
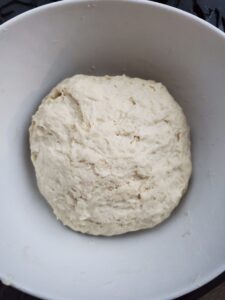
After the dough has rested overnight it should rise to double in bulk.
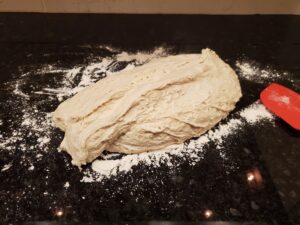
Step 8: ON A LIGHTLY FLOURED SURFACE
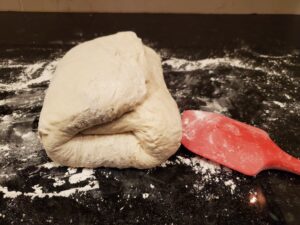
Remove the dough from the bowl and fold the dough with four pulls. Each pull pulls the dough onto itself, then shape the dough.
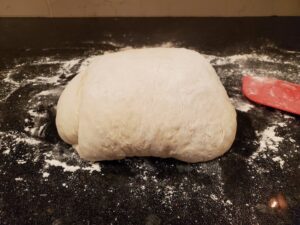
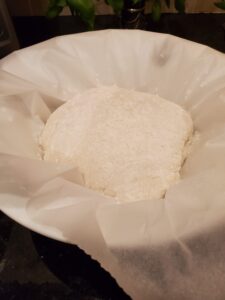
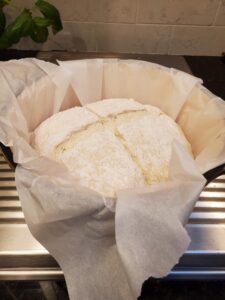
Step 9: PLACE THE DOUGH ON PARCHMENT PAPER AND IN A BOWL
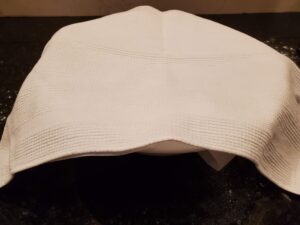
Sprinkle the top of the dough with flour. Cover it with a tea towel and let it rest for one more hour.
7:00 AM or ____________ (your preferred time)
Step 10: PREHEAT THE OVEN TO 450 DEGREES
Place the covered Dutch oven inside the oven. If you have a convection oven, use the convection oven feature.
7:30 AM or ____________ (your preferred time) *Your oven should be fully pre-heated
Step 11: REMOVE THE TOWEL FROM THE DOUGH
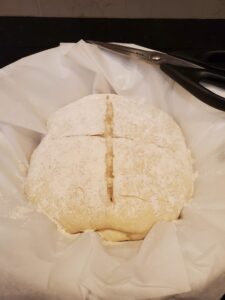
Check to see if you need to add more flour to sprinkle on top of the dough if flour is absorbed. Using sharp pointy scissors, cut the top of the dough making an X about 1/2″ deep. Scissors work much better than using a knife.
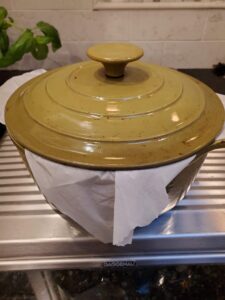
Step 12: CAREFULLY, REMOVE THE HEATED 3QT DUTCH OVEN FROM THE OVEN
Remove the lid, and place the parchment paper with dough in the Dutch oven. Any excess paper should be left outside of the Dutch oven. Place the lid on top and press any excess paper on the outside of the vessel.
Place Dutch oven in the oven and bake covered for 20 min. The full bake time will be 40 minutes.
Step 13: AFTER THE INITIAL 20 MINUTES
Remove the Dutch oven, and remove the cover. You can cook finish cooking in the Dutch oven uncovered or place the bread directly on the rack and bake for another 20 min.
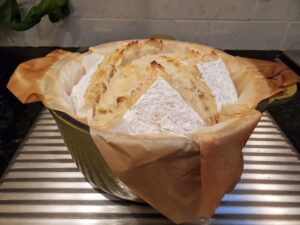
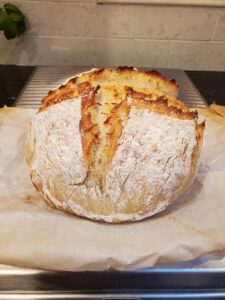

Remove the bread from the oven and place on a rack to cool. Let cool for at least 2 hours before slicing.

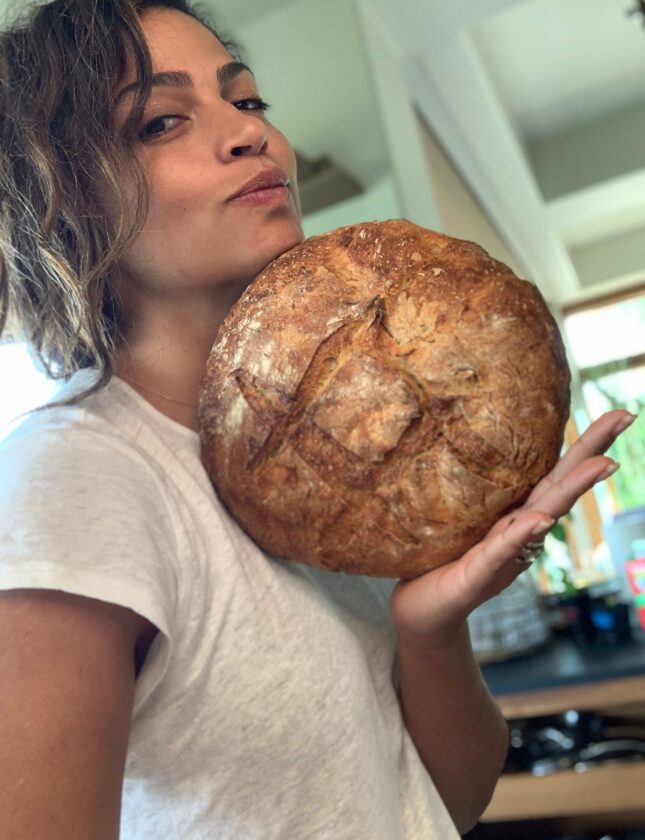
Enjoy!!
Making sourdough? Be sure and share it with us on the WOT Instagram or Facebook!