Very important holiday PSA for everyone: Please do not bother purchasing store-bought dried citrus garland for holiday decor
We’re going to say it one more time for the people in the back… Do NOT waste your money buying store-bought dried citrus for making holiday decor! Making your own DIY Citrus Garland at home is so beyond easy and the markup on them in the store is actually insane. This is one beautiful and festive piece of holiday decor that you absolutely do not need to spend a lot of money on… But you do need the time to make it.

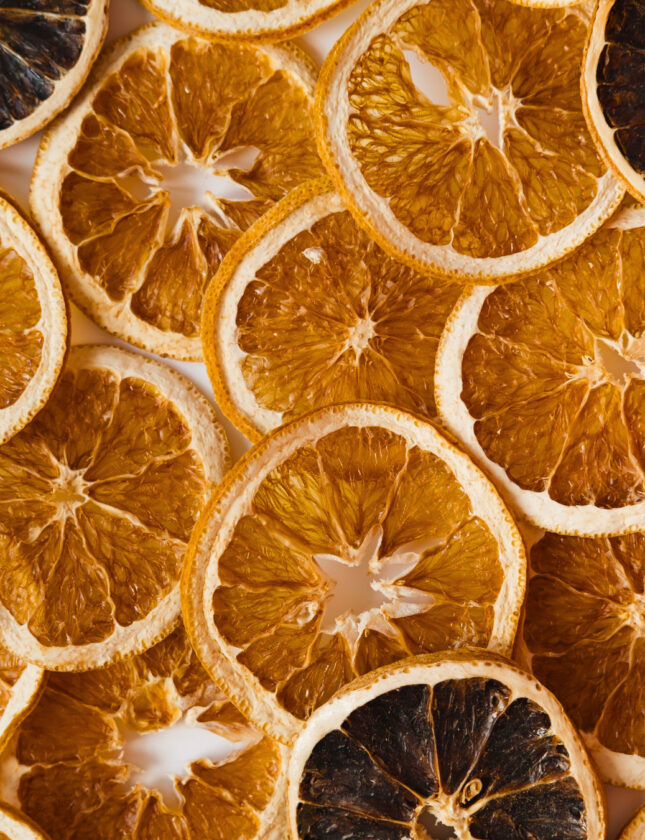
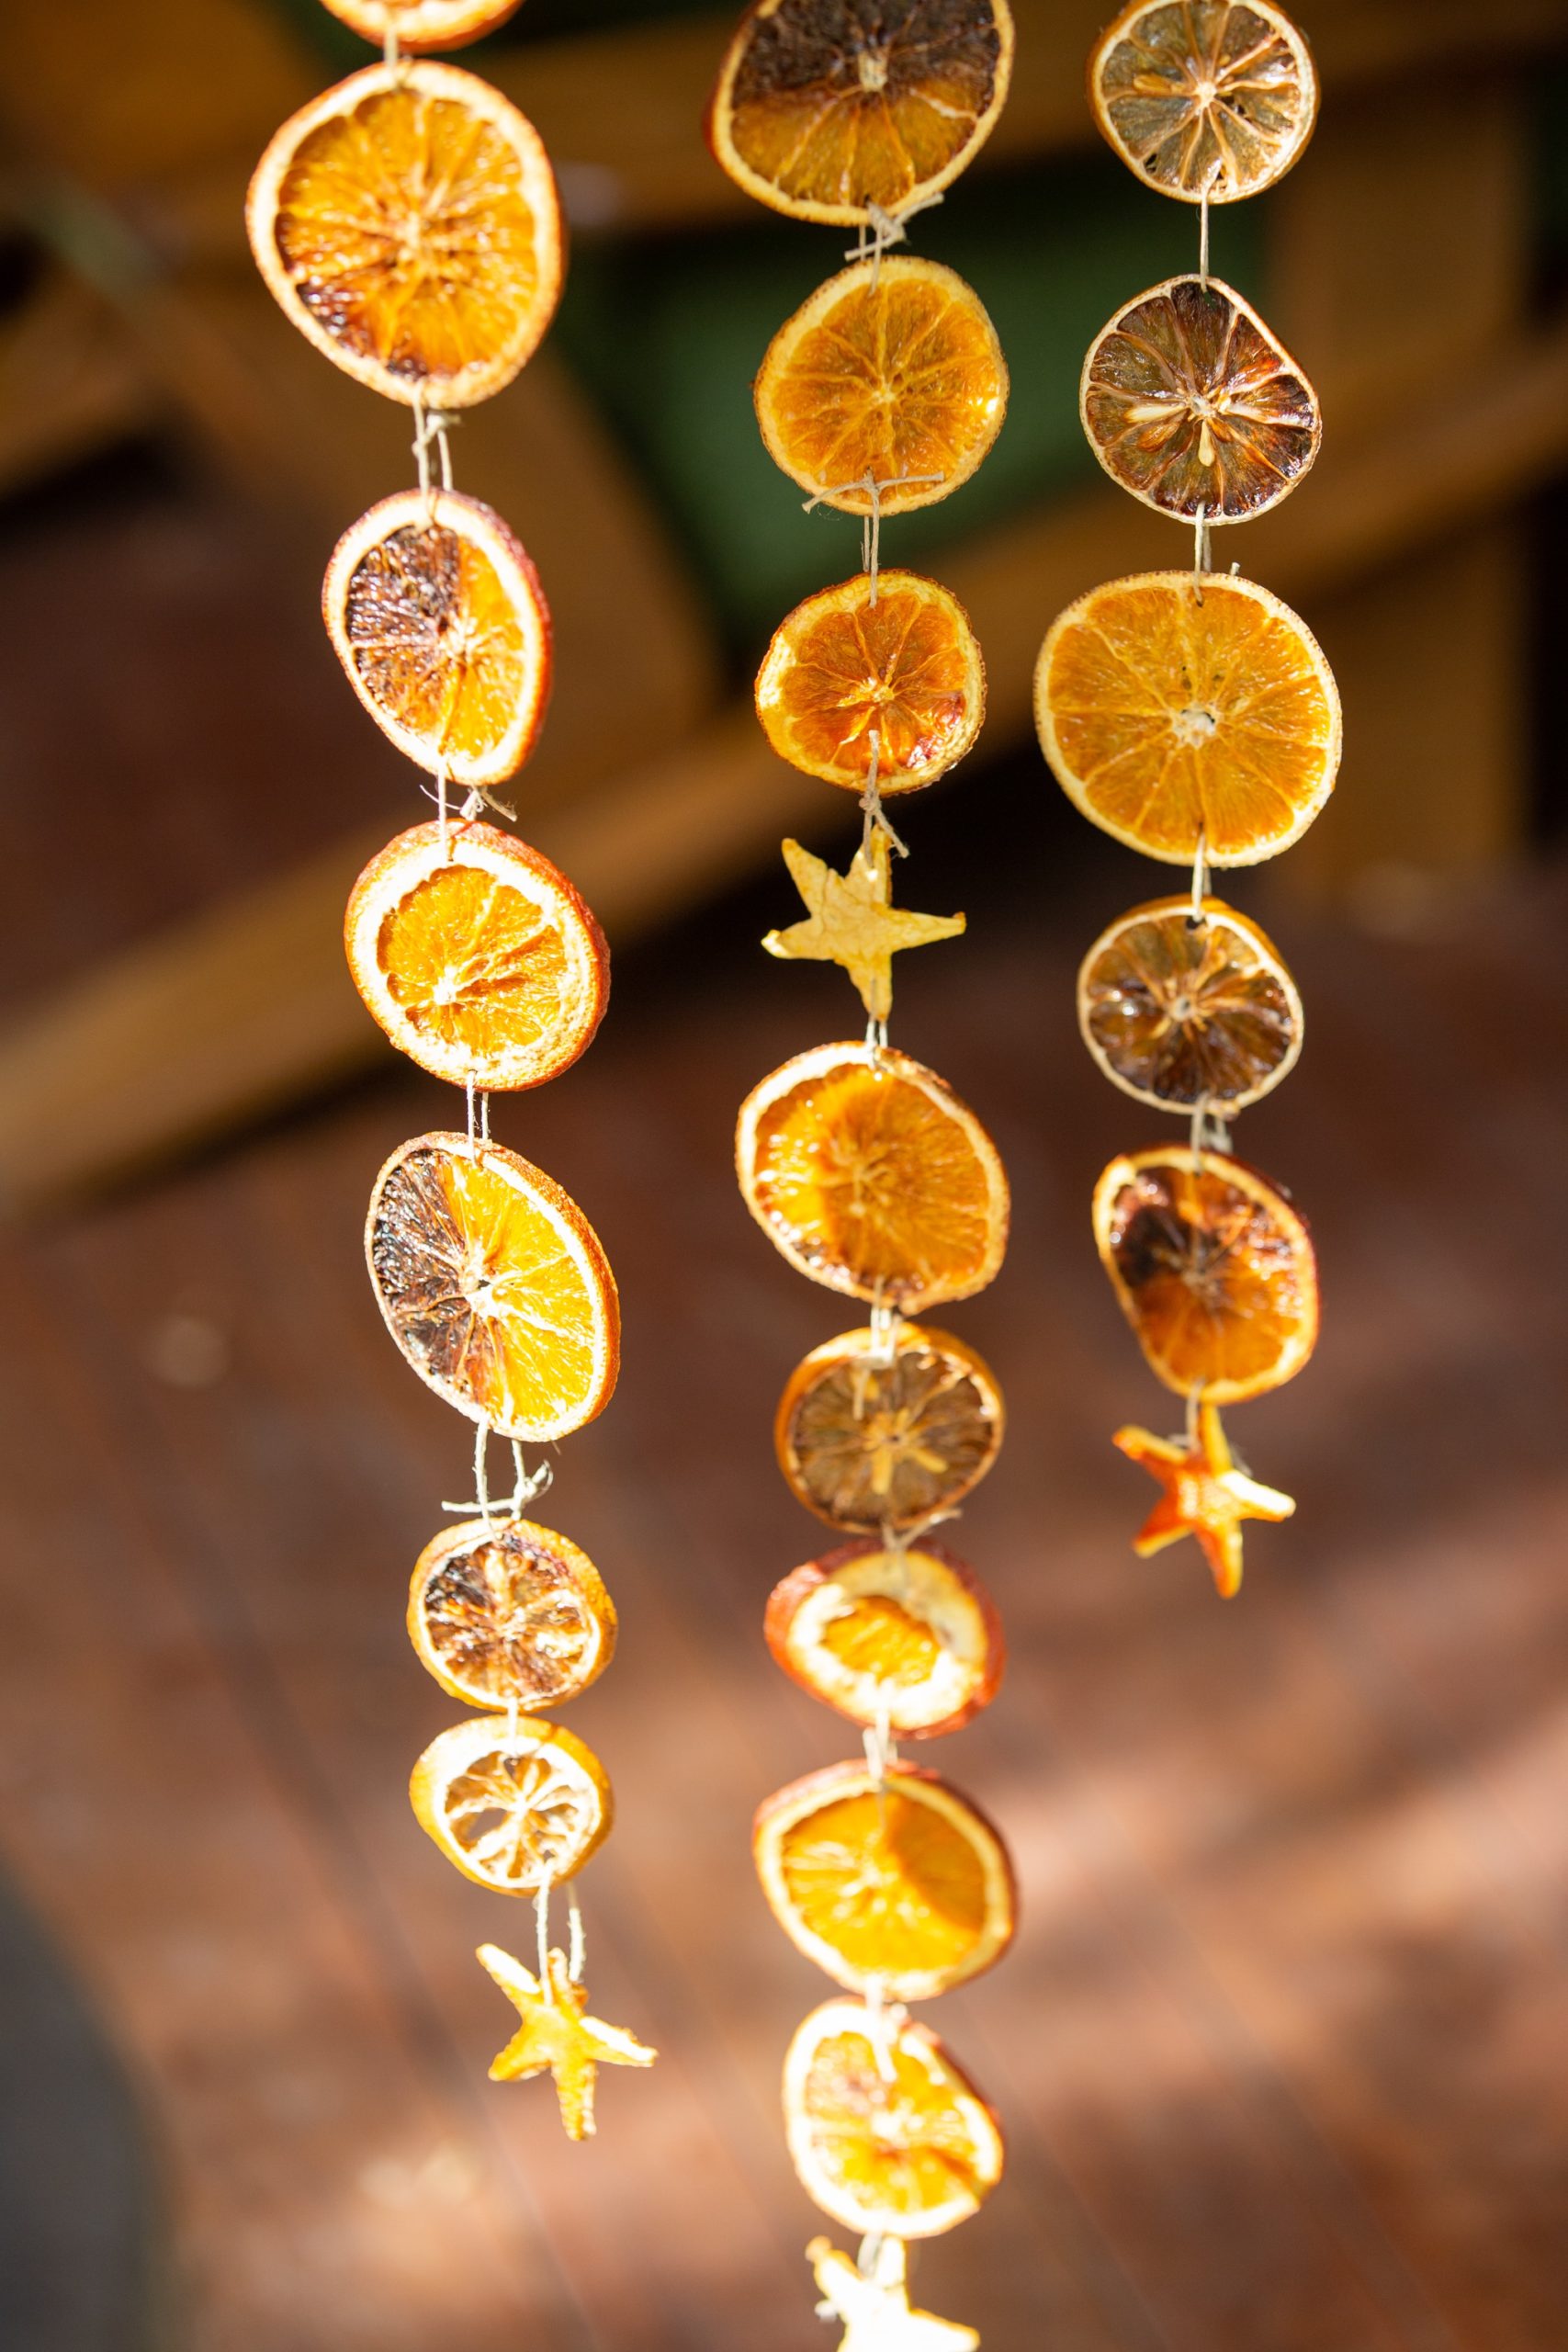
We especially love the dried citrus garland because it smells delicious (we used a mix of lemons + oranges for ours)! Hang these in your kitchen, outside, on your mantle, in your kids’ room, or use as decorations for your holiday table.
You can also get creative and add more items to your garland to personalize how they look — Try stringing in some wooden beads, pieces of dried eucalyptus or even cinnamon sticks.
DIY Citrus Star Garland
Ingredients
- 4 oranges
- 2 lemons
- twine
- embroidery needle
- modge podge
- paint brush
Instructions
- Preheat oven to 250 degrees.
- Slice citrus ¼" thick onto parchment paper lined cookie sheet.
- If you have extra peels, use a cookie cutter to cut out fun shapes! We used a star!
- Bake for 3 hours, checking ever hour to make sure that they are not burning. The lemons in our batch dehydrated quicker so we took those out at 2 hours. Warning! Your kitchen will smell amazing!
- Once the fruit is dehydrated and cooled down, use a paint brush to cover both front and back of each slice with modge podge.
- When the slices are dried, use an embroidery needle to thread the slices together with about 3 inches of twine, two at a time and tying a double knot to keep them securely together.
- Once you have the desired length of garland(s), trim the tie knots and hang wherever you would like!

Have fun and enjoy!
Have more holiday decor suggestions? Be sure and share it with us on the WOT Instagram or Facebook!

