Easter is just around the corner and that means it is time to dye some eggs! Whether you like to dye them naturally or with food coloring, we have your ultimate guide on how to get your colors just right.
We also have included a beautiful way to add some nature to your eggs this year. Scroll to the bottom for Camila’s egg dying craft she does using leaves, flowers and grass.
How To Dye Eggs
First, let’s start with the basics of how to dye an Easter Egg: Mix 1/2 cup boiling water, 1 teaspoon vinegar and 10 to 20 drops food color in a cup to achieve desired colors. Repeat for each color. Dip hard-cooked eggs in dye for about 5 minutes. Use a slotted spoon, wire egg holder or tongs to add and remove eggs from dye.
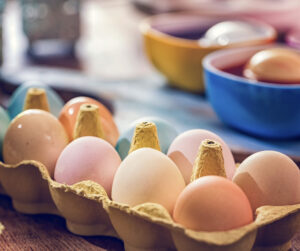
How To Dye Eggs Using Food Coloring
If you are using food coloring to dye your eggs, Martha Stewart has created a great guide on exactly how to achieve the colors you want with her Easter Egg Color Wheel.
Her best tip: When dying more than one color for your eggs, it usually works best if you use similar colors, such as green and blue or red and orange (colors that are adjacent on these “color wheels.”) Very different colors, such as red and green, tend to look muddy if they overlap (these colors are opposite each other on the color wheel). If you’re making multiple batches, consider building an egg-drying rack with flathead pins and foam board. This will prevent the color from pooling and drying in an uneven fashion, and it can be saved for use year after year.
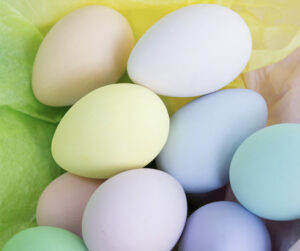
For Light Hues — To dye pretty pastel eggs, dip them in the colored water for shorter periods of time. Follow our handy color wheel chart using the formulas below. Use this as a guide: Color Desired = Drops Per Cup of Water + Minutes.
- Yellow = 20 Yellow + 1/2
- Yellow-Orange = 19 Yellow and 1 Red + 2
- Orange = 17 Yellow and 3 Red + 2 1/2
- Pink-Orange = 6 Red and 14 Yellow + 2
- Pink = 20 Red + 1
- Pink-Violet = 10 Blue and 10 Red + 1
- Violet = 15 Blue and 5 Red + 1
- Blue Violet = 18 Blue and 2 Red + 1
- Blue = 20 Blue + 1/2
- Blue-Green = 6 Blue and 14 Green + 1 1/2
- Green = 20 Green + 1/2
- Yellow-Green = 15 Yellow and 5 Green + 1/2
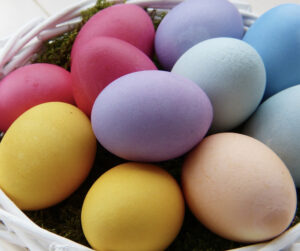
For Dark Hues — To dye richly hued eggs, leave your eggs in the water longer (in some cases, more than 10 minutes). Follow our handy color wheel chart using the formulas below, using this as a guide: Color Desired = Drops Per Cup of Water + Minutes.
- Yellow = 20 Yellow + 15
- Yellow-Orange = 19 Yellow and 1 Red + 12
- Orange = 17 Yellow and 3 Red + 12
- Red-Orange = 6 Red and 14 Yellow + 12
- Red = 20 Red + 4
- Red-Violet = 10 Blue and 10 Red + 5
- Violet = 15 Blue and 5 Red + 7
- Blue-Violet = 18 Blue and 2 Red + 5
- Blue = 20 Blue + 5
- Blue-Green = 6 Blue and 14 Green + 8
- Green = 20 Green + 8
- Yellow Green = 15 Yellow and 5 Green + 10
How To Dye Eggs Naturally
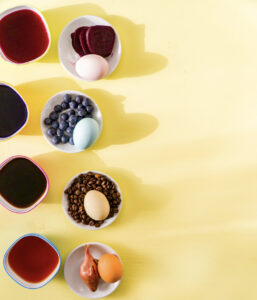
Naturally Dyed Easter Eggs
Equipment
- narrow glass jars for each egg The smaller, the easier!
Materials
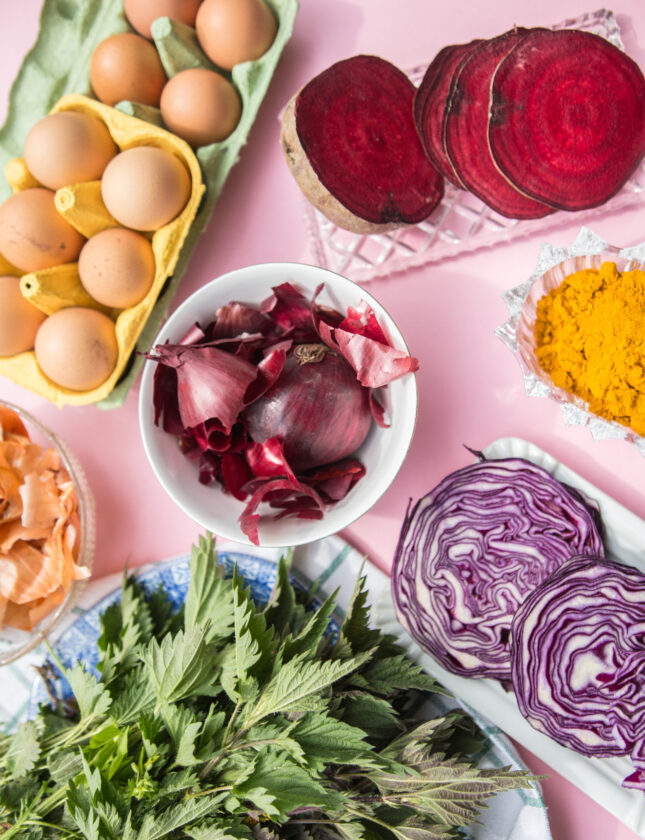
- 1 dozen white hard-boiled eggs
- 4 cups (960 ml) dye liquid
For blue dye:
- 1/2 head red cabbage
- 4 cups (960 ml) water
- 2 tbsp white vinegar
For yellow dye:
- 4 cups (960 ml) water
- 2 tbsp turmeric powder
- 2 tbsp white vinegar
For pink dye:
- 4 cups (960 ml) water
- 1 medium beet cut into chunks
- 2 tbsp white vinegar
For orange dye:
- 4 cups (960 ml) water
- 4 skins from large yellow onions
- 2 tbsp white vinegar
Instructions
To make blue dye:
- Put the cabbage and water in a large pot, bring to a boil and simmer for 30-45 minutes. Remove from heat and let it cool at room temperature. Pour the dye through a mesh strainer into small bowls or glass jars and stir in the vinegar.
To make yellow dye
- Place turmeric and water in a medium-sized pot over high heat and bring to a boil. Remove from heat, cover and let it sit until cool. Pour the liquid in small bowls or glass jars and stir in the vinegar.
To make pink dye
- Place the beetroot and water in a medium-sized pot over high heat and bring to a boil. Remove from heat, cover and let it sit for 1 hour. Pour the dye through a mesh strainer into small bowls or glass jars and stir in the vinegar.
To make orange dye
- Place the prepared ingredient in a large pot, and cover with an inch of water. Bring to a boil; then reduce to a simmer; cover; and continue cooking for 30 minutes, or until you’re satisfied with the color. Your eggs will usually turn out a couple shades lighter than the dye bath.
To make green eggs
- Dye the eggs yellow than dip them in the blue dye until you’ve reached the desired shade.
How to make the eggs
- Gently, place one egg in each jar and let it sit for at least 30 minutes, or until you’ve reached the desired shade. Make sure the egg is completely submerged! The longer they sit, the more vibrant your colors will be! You will find that some eggs will need longer than others to get your desired shade.
- Using a slotted spoon, carefully remove the eggs from the dye and place them on paper towels to dry.
- If you want shiny eggs, rub them with some vegetable oil once the dye is dry and polish with a paper towel.
Notes
How To Get Your Colors Just Right
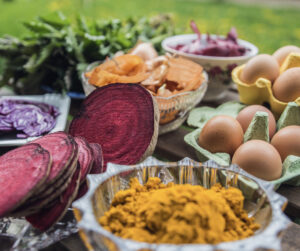
When it comes to getting your colors just right, have a look at this cheat sheet! These time suggestions below are based on the above natural dye recipes.
Yellow – soak a white egg in tumeric for three hours
Gold – soak a brown egg in tumeric for three hours, or a white or brown egg in tumeric overnight
Pale blue – soak a white egg in cabbage for three hours
Grey – soak a brown egg in cabbage for three hours
Bright blue – soak a white egg in cabbage overnight
Teale– soak a brown egg in cabbage overnight
Orange – soak a white egg in onion skins for three hours
Burnt orange – soak a brown egg in onion skins for three hours, or a white or brown egg in onion skins overnight
Pink – soak a white egg in beets for three hours
Bright pink – soak a white or brown egg in beets overnight
A Creative Way To Decorate Your Eggs
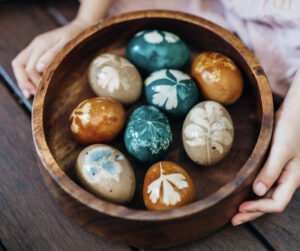
Lastly, if you are looking for a fun touch to add to your eggs, try adding some natural elements to create designs! Camila taught us this trick and it is very easy to do. Simply head outside and grab some leaves grasses and flowers. Next, you are going to need some old pantyhose (dollar store pantyhose is also great for this).
One at a time, place leaves, flowers, or plants on the outside of your hard-boiled egg as desired. You do this step right before you are about to dip your eggs in the dye. Some of the plant materials will stick better if you dip them in water first.
Place the egg in your hand, and gently place the egg inside the pantyhose, make sure your design is still how you want it, and then pull the hose securely around the egg and tie it shut.
Gently lower your egg into your jar of dye and color your eggs as usual.
Remove and cut the pantyhose off and reveal your beautiful pattern!
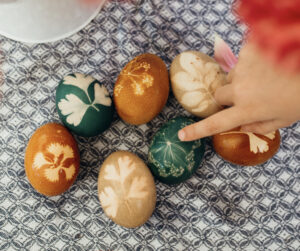
Enjoy and have a very happy Easter!!
Using any of these tips to dye your eggs this Easter? Be sure and share with us on the WOT Instagram or on Facebook!

